Step 1: Define the product, not the machine
Before specifying any machine, document everything about the product: What is it? What is its viscosity? What is its temperature at filling? Does it foam? Does it separate? Are there particles or fibers? Is it corrosive, abrasive, or food-grade? This document becomes the technical brief that every machine in the line is designed against. Without it, every supplier is guessing.
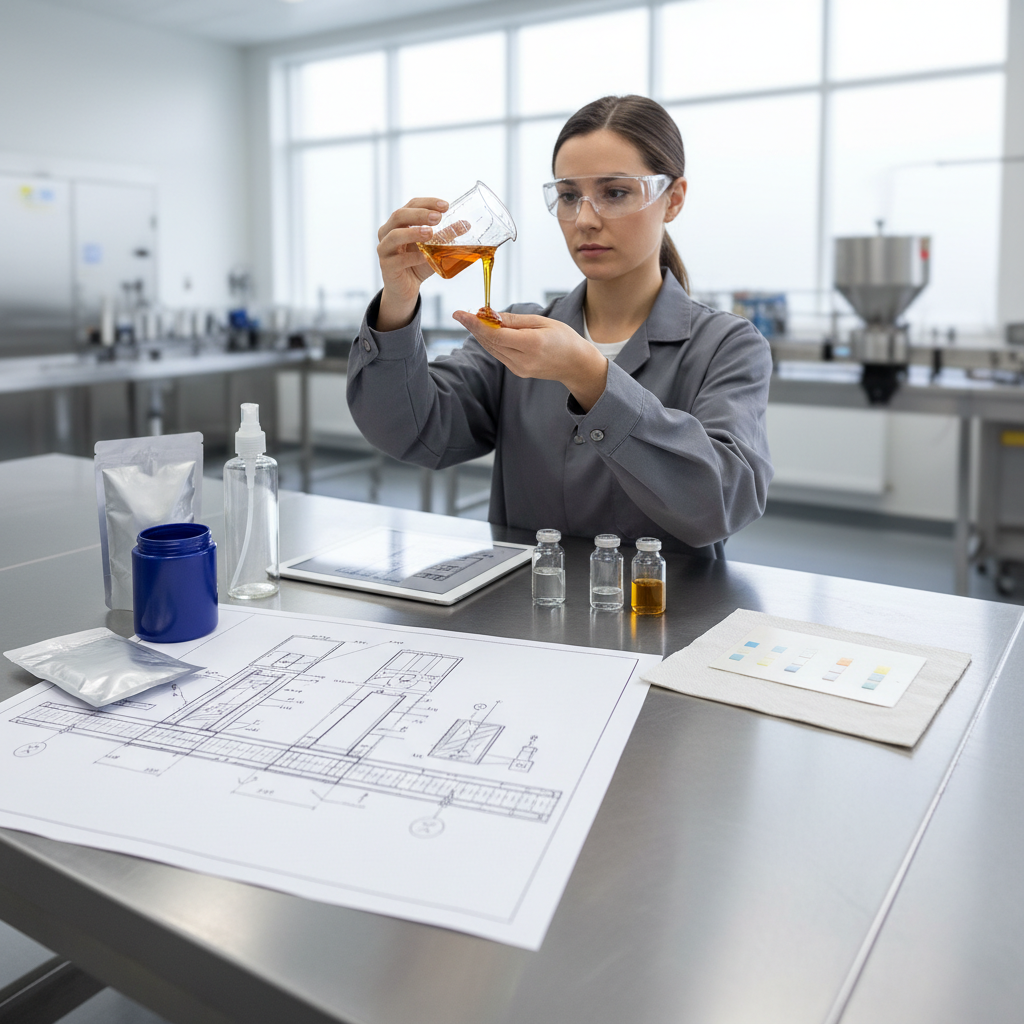
Product documentation — viscosity, temperature, foaming behavior, pH — becomes the technical brief every machine is designed against.
Step 2: Define the container
The container specification must include: material (PET, HDPE, glass), approximate weight empty, height range, neck diameter, maximum width, and cap type. If you have multiple containers, list all of them. The line must be designed for the widest range you intend to run, and the changeover requirement between formats must be specified.
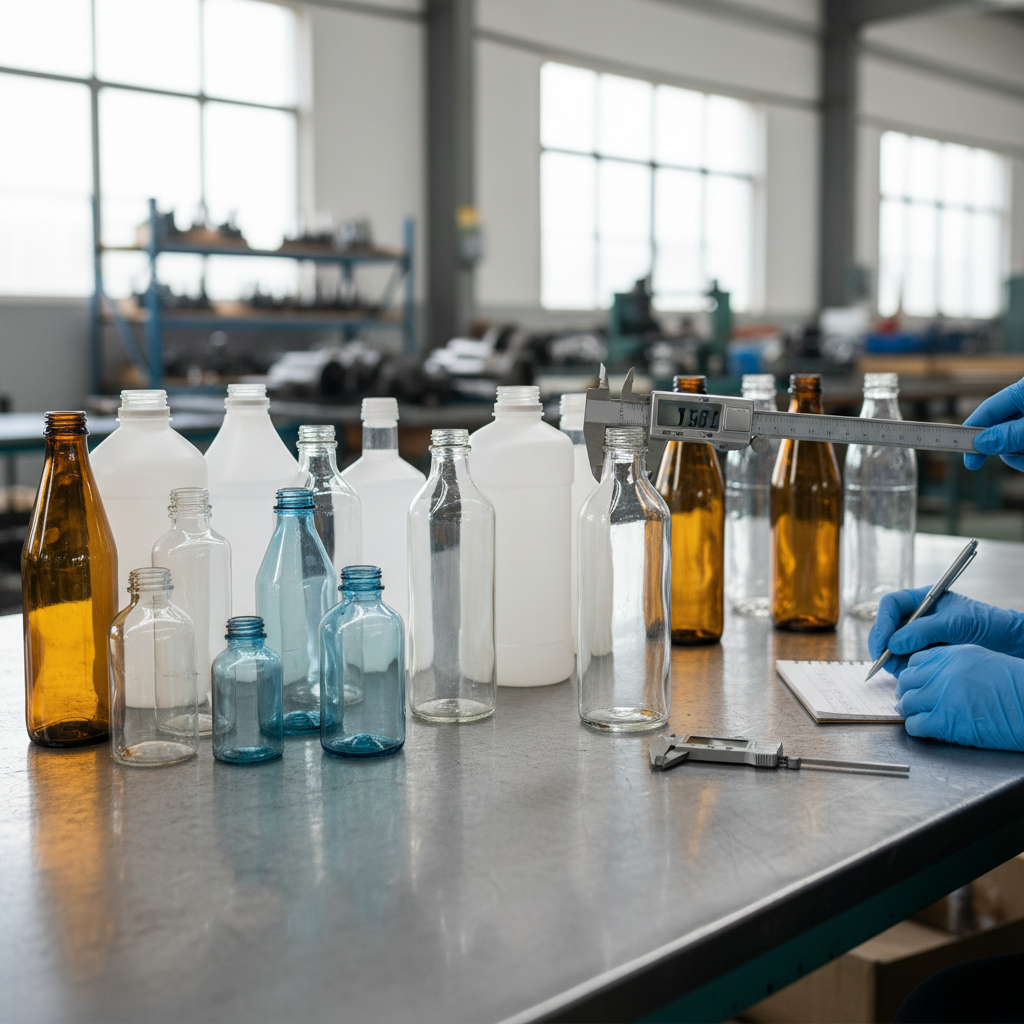
Container specs — material, weight, height, neck diameter and cap type — define every mechanical parameter of the line.
Step 3: Set the real target BPH
Your target BPH should be the sustainable average throughput per shift, not the theoretical maximum. Account for startup time, cleaning time, product changeover time, and planned maintenance windows. A common mistake is designing to peak capacity and then running the line at 60% efficiency because the support processes are not planned.
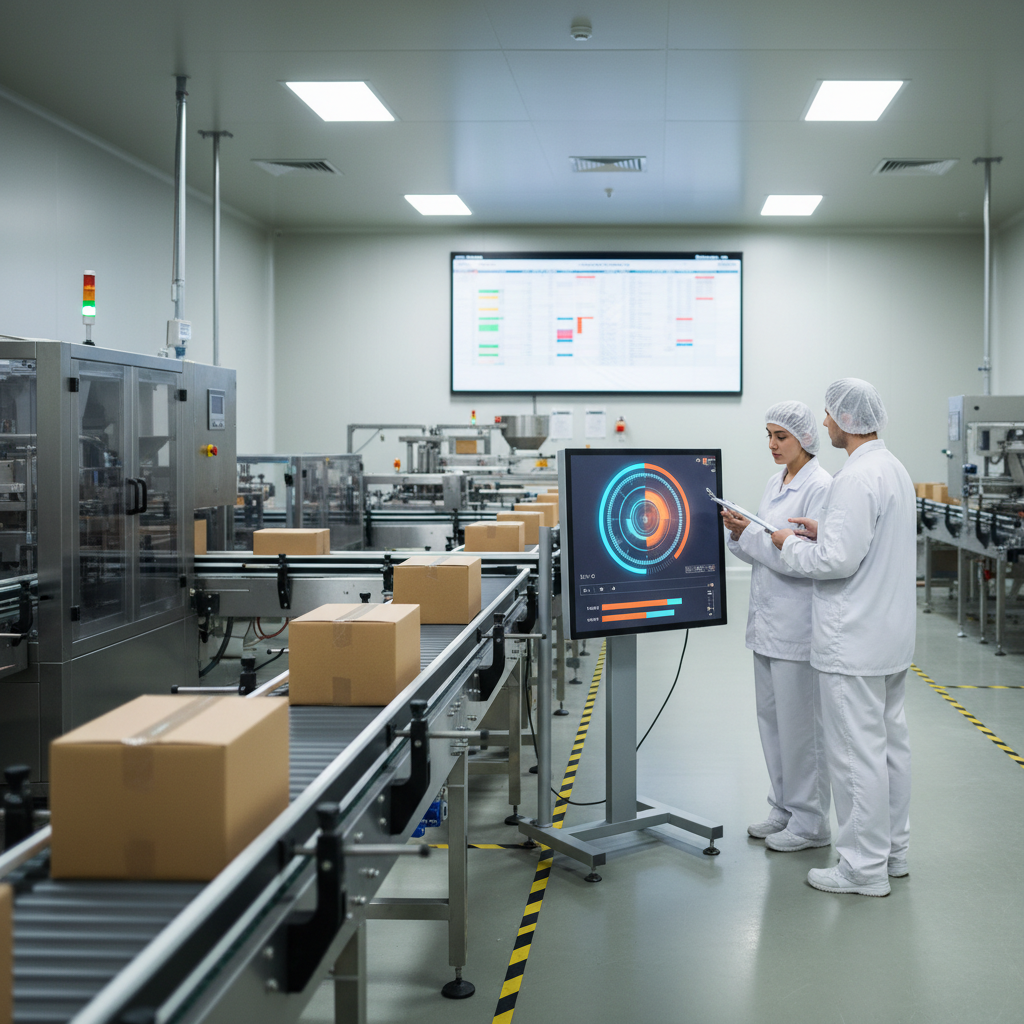
Target BPH = sustainable average per shift, not peak — account for startup, cleaning, changeover and planned maintenance time.
Step 4: Map the full line from input to output
Draw a simple flow diagram: where do empty bottles come from (warehouse, blowing machine, pallet), where do caps come from, where does the product come from (mixing tank, delivery), and where do finished packs go (pallets, storage). This diagram reveals the logistics around the machine line — which is often where the real bottlenecks are.
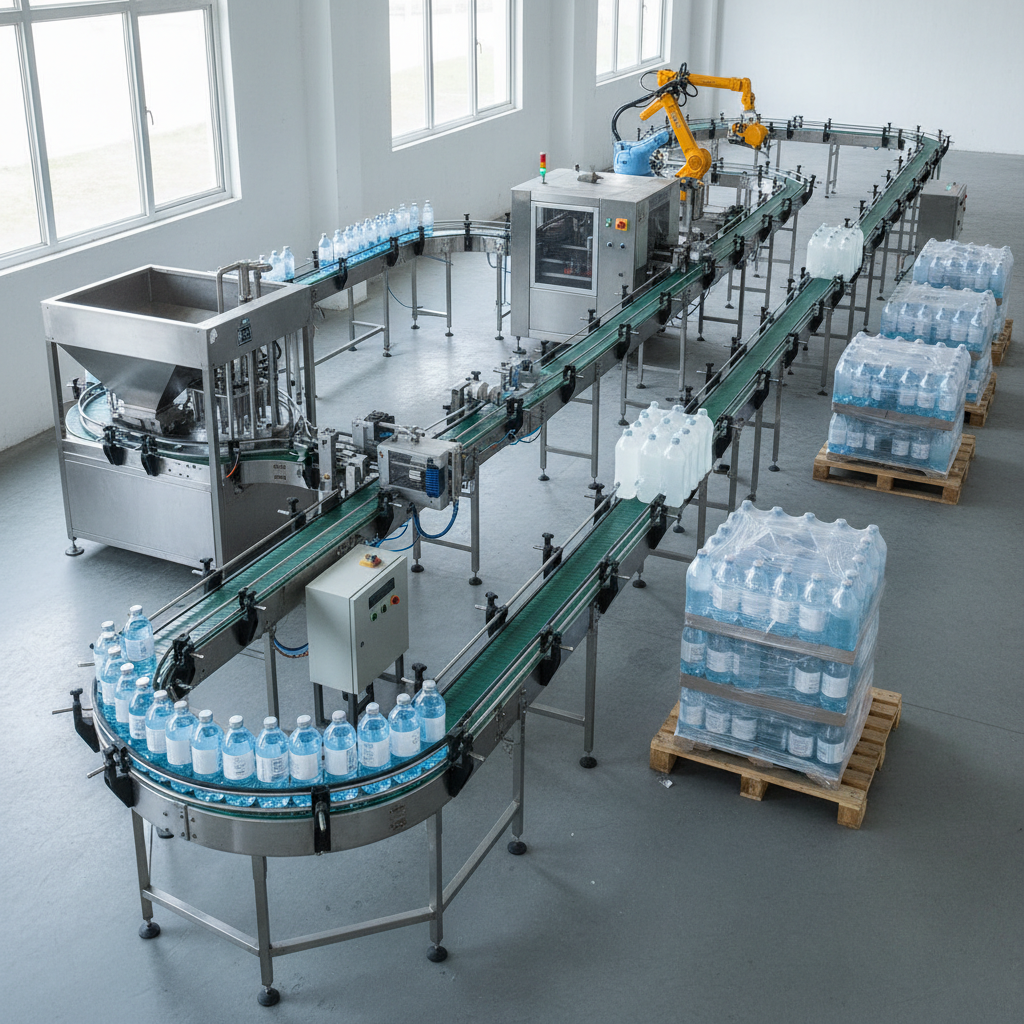
A simple flow diagram from empty bottles to finished pallet reveals logistics bottlenecks that machine specs never show.
Step 5: Design for cleaning and maintenance
Every machine on the line must be accessible for cleaning. Conveyors must be removable or tiltable. The filling machine must support CIP or manual disassembly. The line layout must allow a technician to reach every machine from at least one side without moving another machine. These requirements are often forgotten in the initial layout and create serious problems during commissioning.
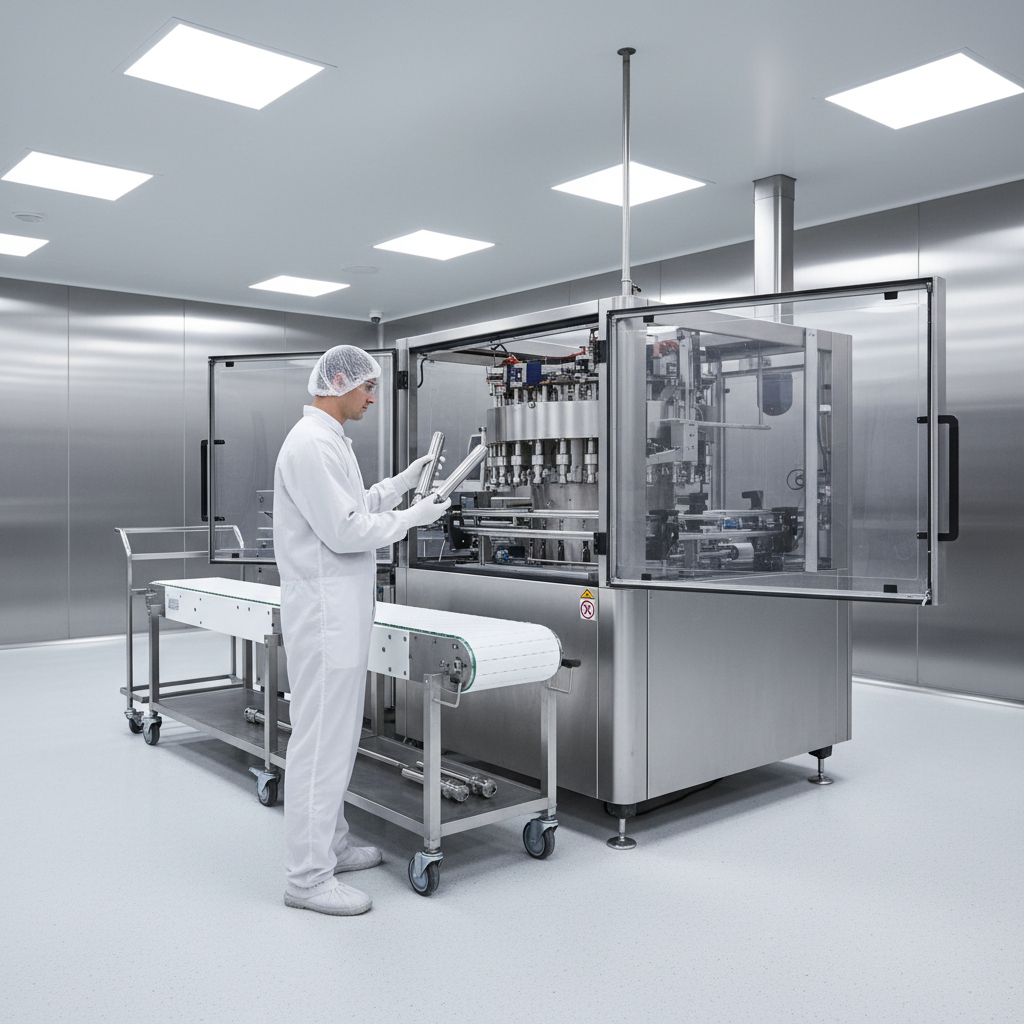
Every machine needs side access for cleaning and maintenance — this is often forgotten in initial layouts and causes major problems.
Have a production question?
Ready to start planning your line? Share your product brief and target capacity with our engineering team — we will help you build the right plan.